The Club’s outing to Ilkley for a Photo Hunt, devised by Peter Farmer, produced a good range of images and number of different approaches to the task of recording the answers to the clues posed. Here is a selection of the images submitted.
Everyone found Bettys Tea Room. Some liked to get in close, one member even adding a rather large and tasty looking Fat Rascal to complete the image. Others moved further back, showing the famous cafe in the context of the busy street, or shooting through the bandstand.
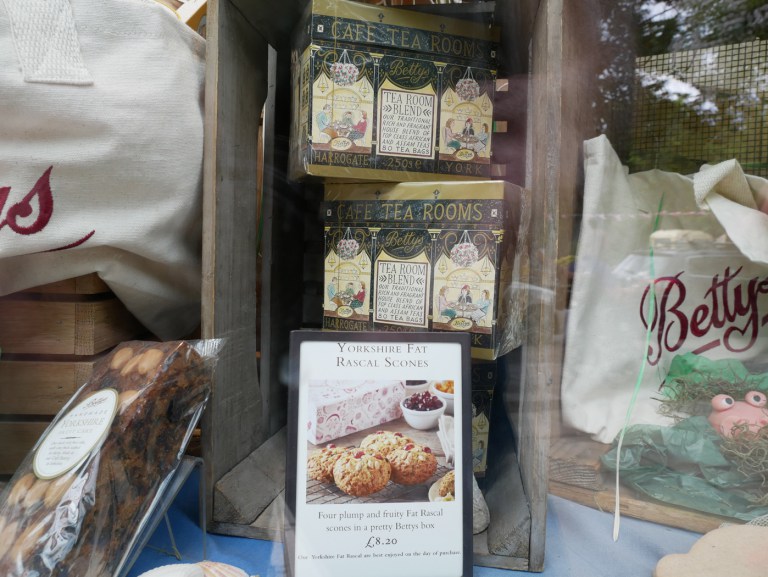
Bettys Window by Brian Goddard

Bettys with Fat Rascal by Julia Kay

Bettys by Naomi Warrenberg

Bettys across the Road by Sharon Sawyer
The next port of call was the Lutyens House. Several hunters caught architectural shots of this – with commendably upright verticals. But some hinted at the hidden away nature of the building.

Lutyens House by Tim Sawyer

Lutyens House Hiding by Brian Goddard
Reaching Heber’s Ghyll, everyone had a go at capturing the dense woodland, some showing the inviting pathways and others focussing on the trees and ferns.

Silvan Scene by Sharon Sawyer

Woodland by Tim Sawyer
At the next stop, the Swastika Stone was not the easiest thing to photograph as shadows are needed to show the shape clearly. Among the efforts was a good shot showing the context and another in close-up. At the other extreme was a moody shot across the moor where the railings at the stone were just visible. Interestingly this was the only mono shot submitted.

Swastika Stone by Julia Kay

Swastika Stone by Gaile Meyrick
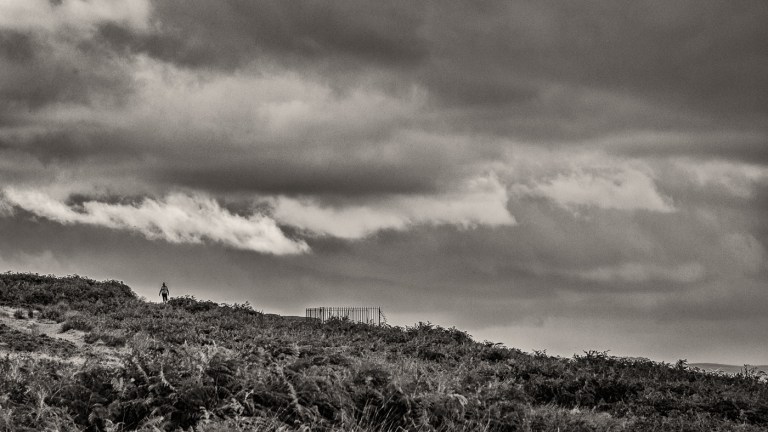
Alone on the Moor by Tim Sawyer
For some photographers the weather was not kind so considerable skill was required to get a decent shot of Wharfedale and Ilkley Moor itself. A light hearted approach seemed to do the trick.

Towards Wharfedale by Gaile Meyrick

Ilkley Moor in the Rain by Sharon Sawyer
In better conditions some striking architectural shots were possible. This one was of the right building but occasionally hunters were a little off track.

Wells House by Julia Kay
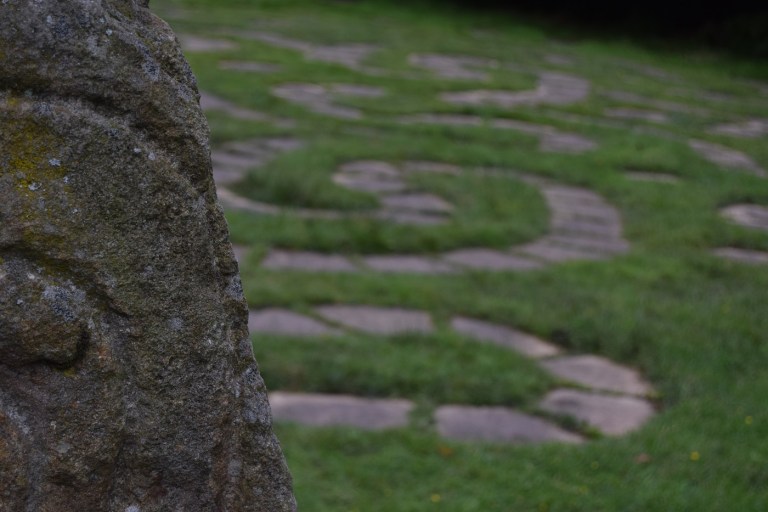
Moving on to the Maze, the issue was how to make it interesting when you couldn’t actually get above it to see the patterns. One photographer chose crafty focussing, another framed a key element and another decided on a close-up.
Maze by Naomi Warrenberg

The Maze Stone by Brian Goddard

Maze Stone by Gaile Meyrick
The final destination was the Winter Gardens. Some went for a straight-forward shot of the whole frontage, but one photographer decided on an interesting and symmetrical close-up showing that on the day the place was shut.

Winter Gardens Shut by Naomi Warrenberg
Well done to those who completed the Hunt successfully and were brave enough to upload their efforts. Congratulations to those whose images have been displayed above.